

We had yet another sold out Family Art Lab this October and it was such a thrill to share my growing paper making skills with so many families. We began our workshop by discussing handmade paper making techniques in Nepal – where handmade paper is still widely made and used. These techniques involve using the bark of the lokta plant, shredding it, boiling it, pounding it down, combining it with water to make a pulp, straining it over a special screen, and allowing it to dry in the sun. Sound complicated? Find out more by watching this short video to see women of Nepal craft some of the most beautiful handmade papers in the world.
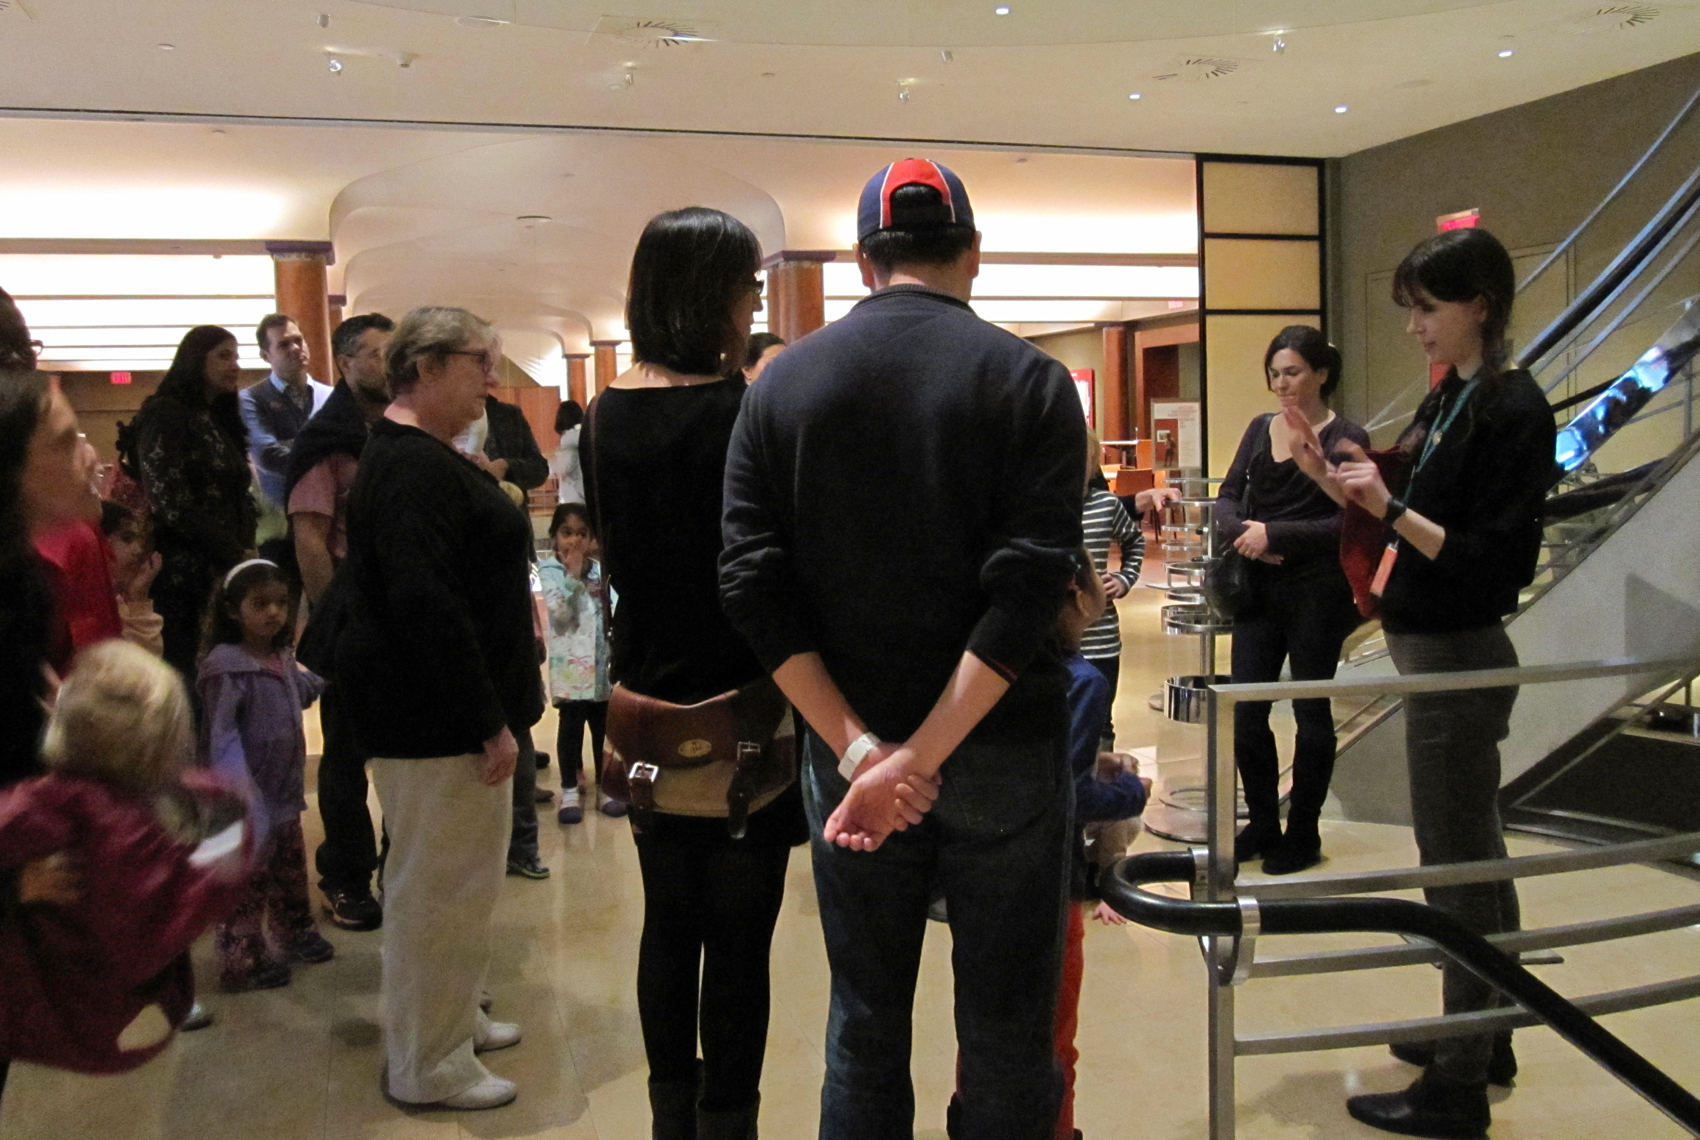
After getting more familiar with traditional Nepalese paper making, we took our newly acquired knowledge to the Museum to check out the Francesco Clemente: Inspired by India exhibition. There we explored Clemente’s works on handmade paper from the Pondicherry region of India. Many families found it fascinating to discover that each of his large paintings is made up of several sheets of smaller handmade papers, joined together by cotton strips. This interesting use of media allowed Clemente to be able to easily travel with these large works – all he had to do was fold them up!

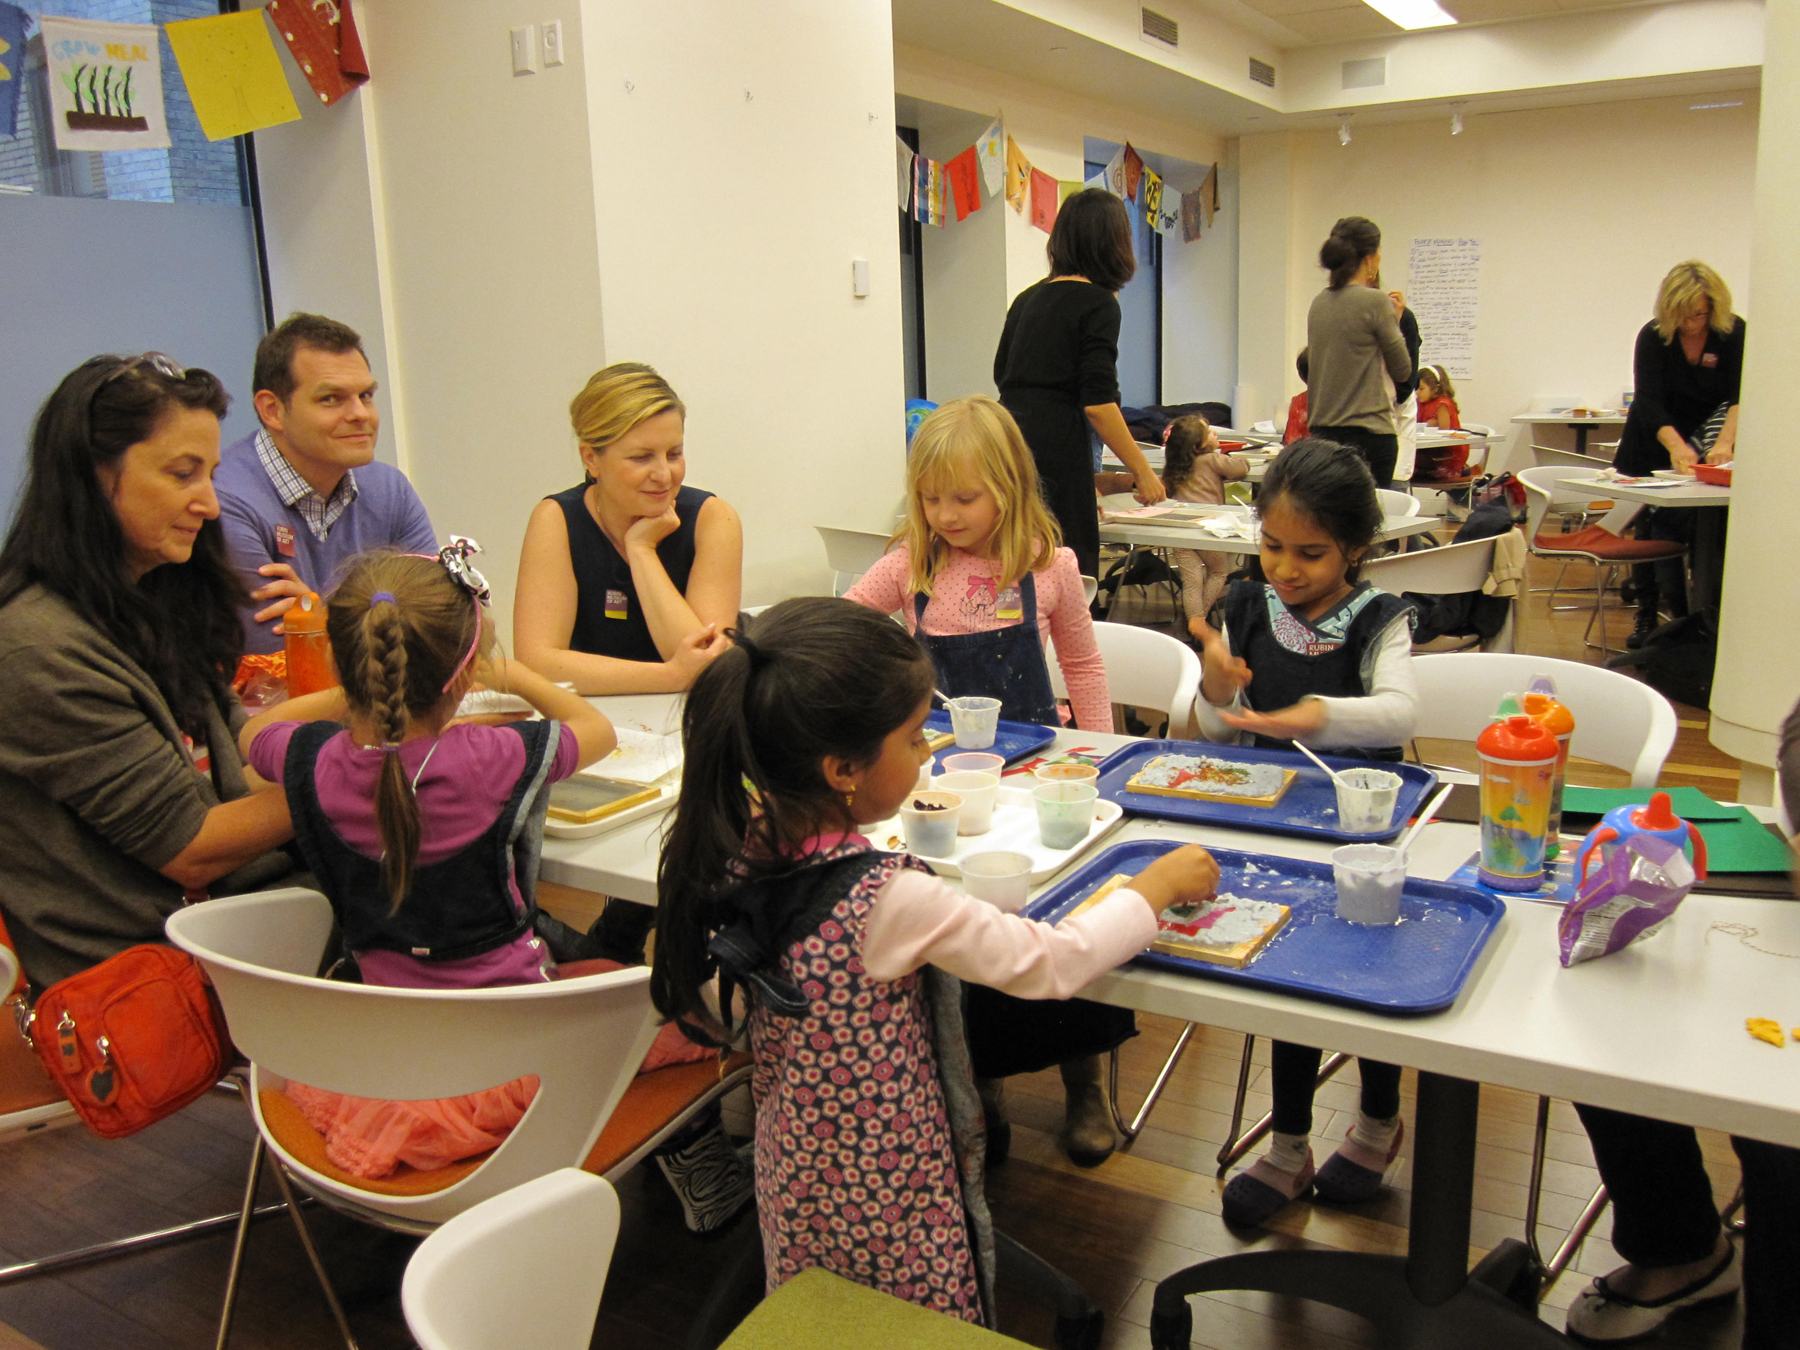
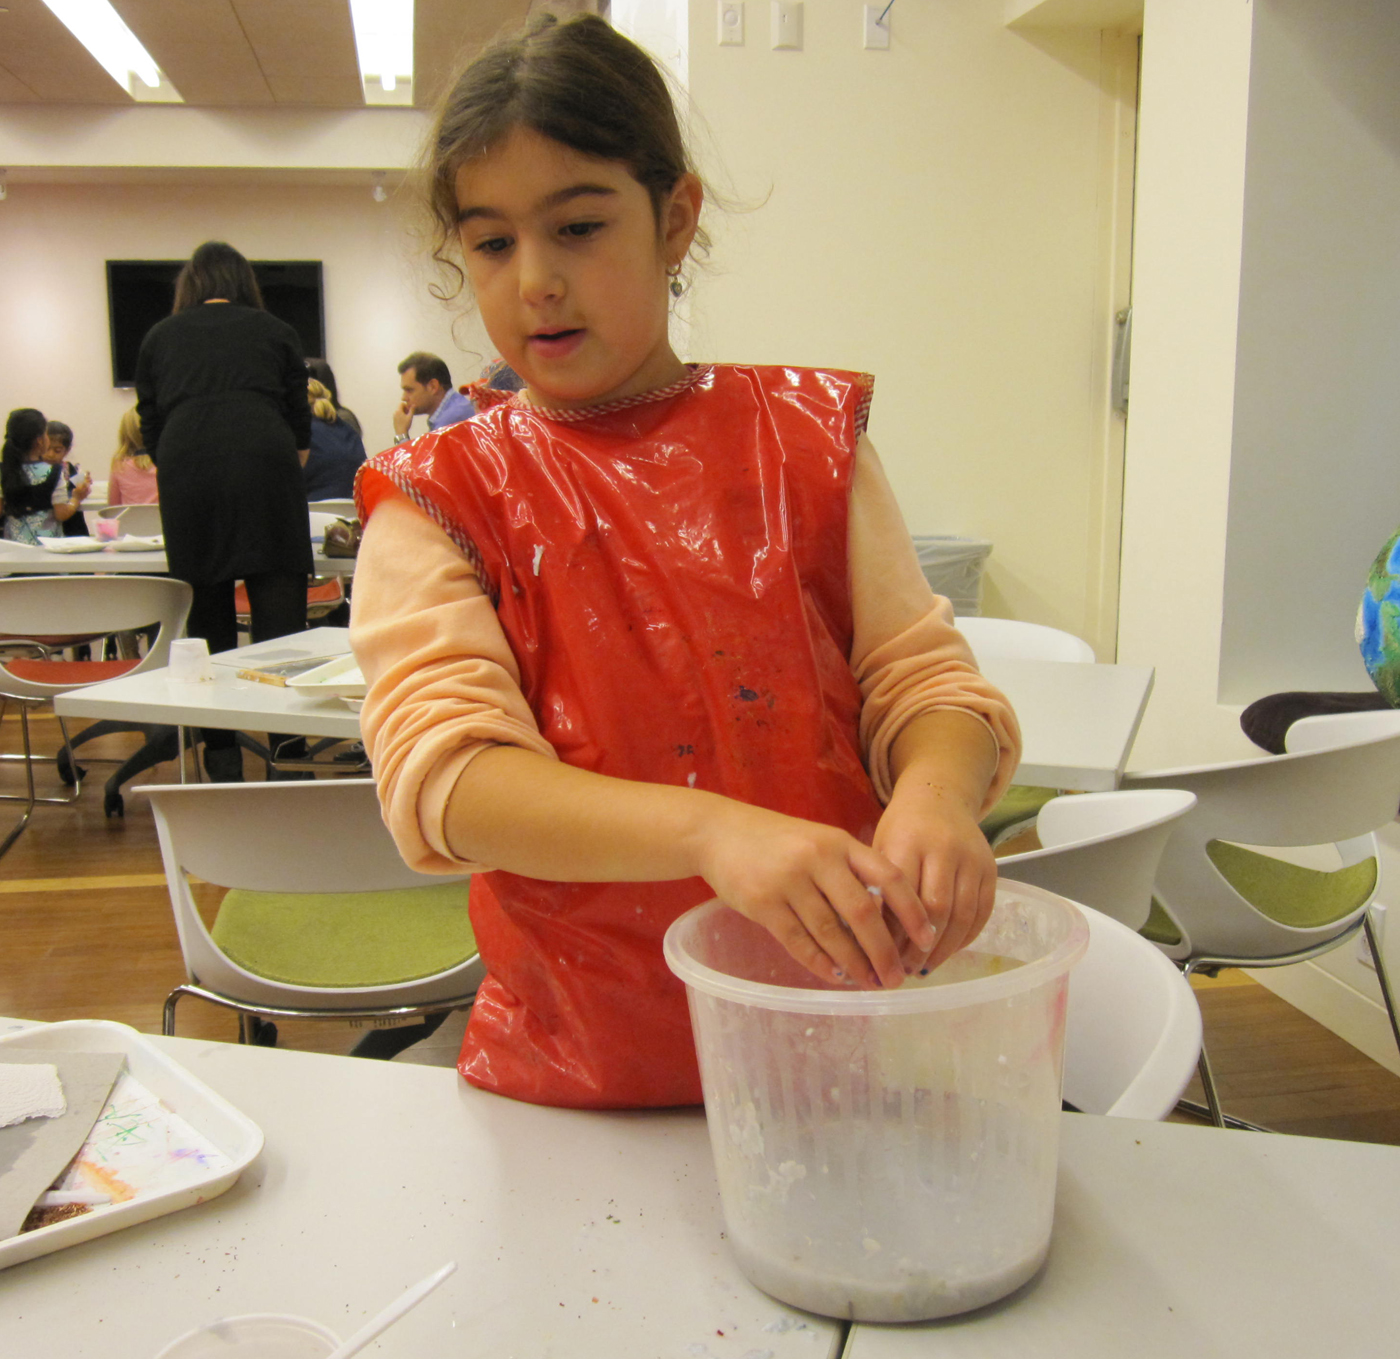
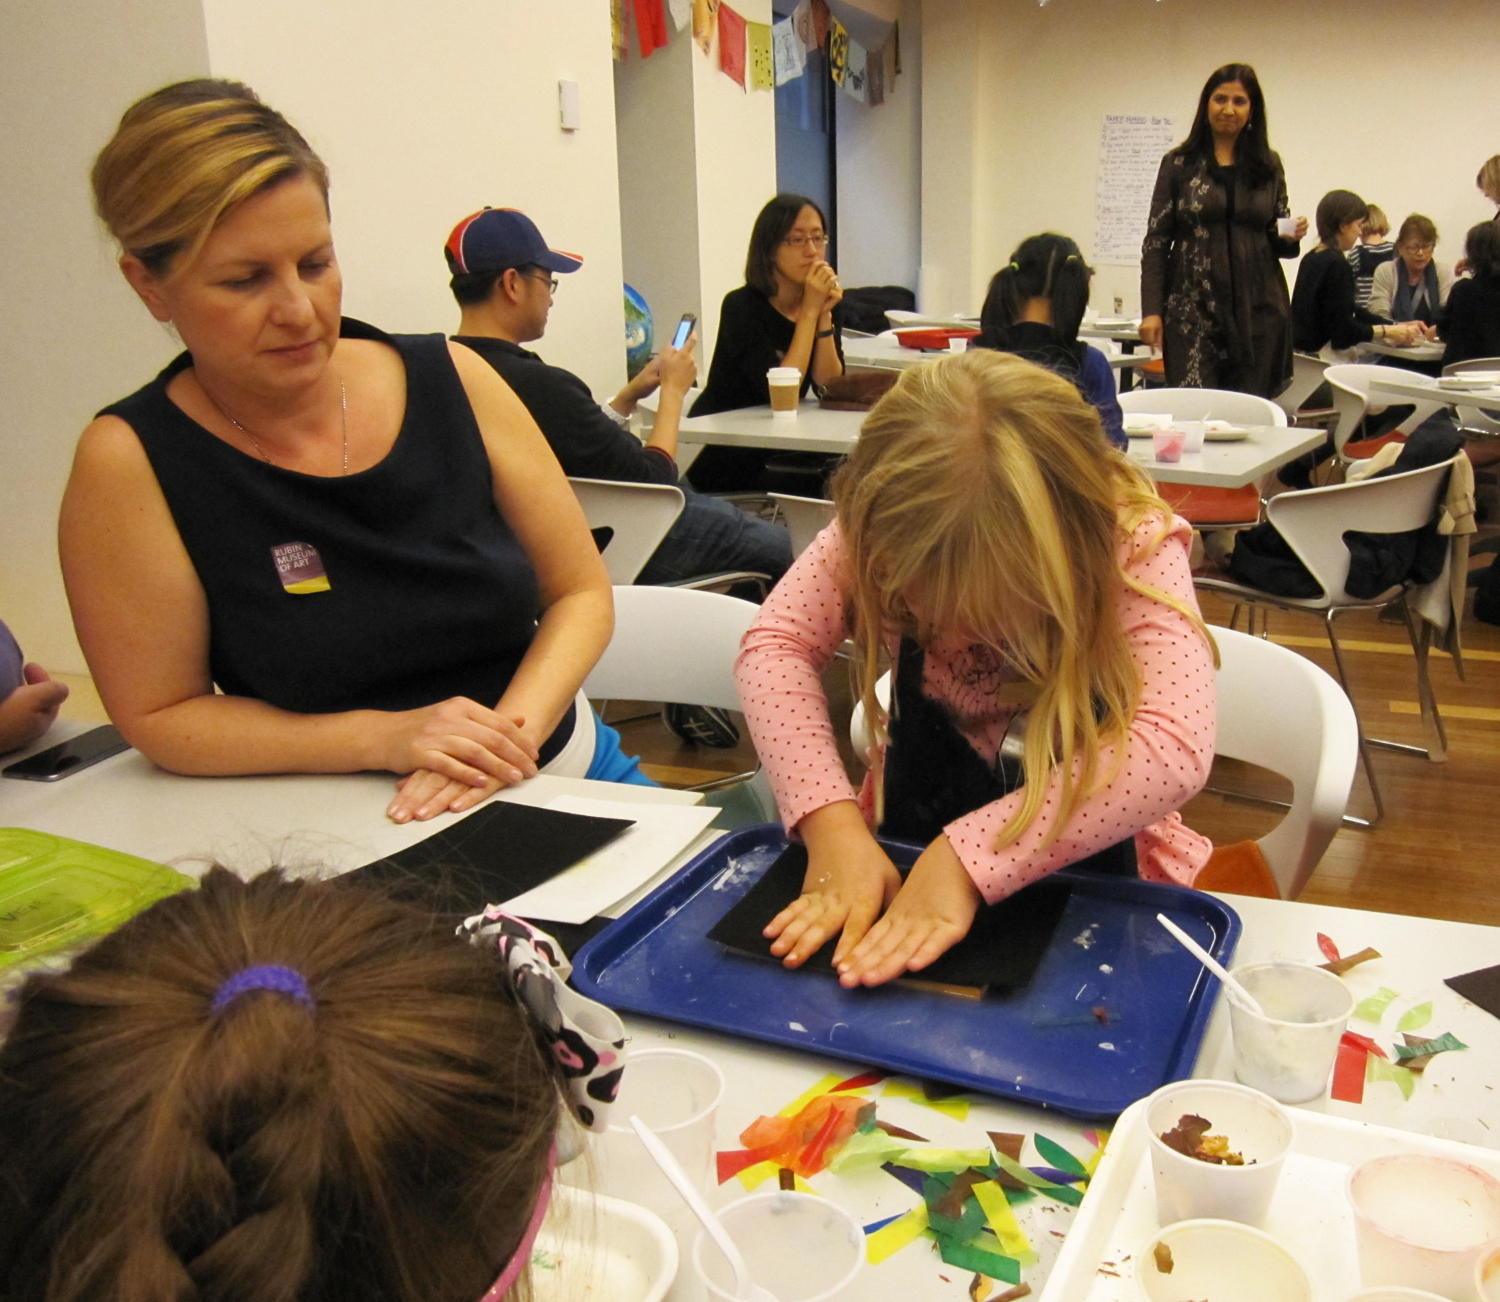
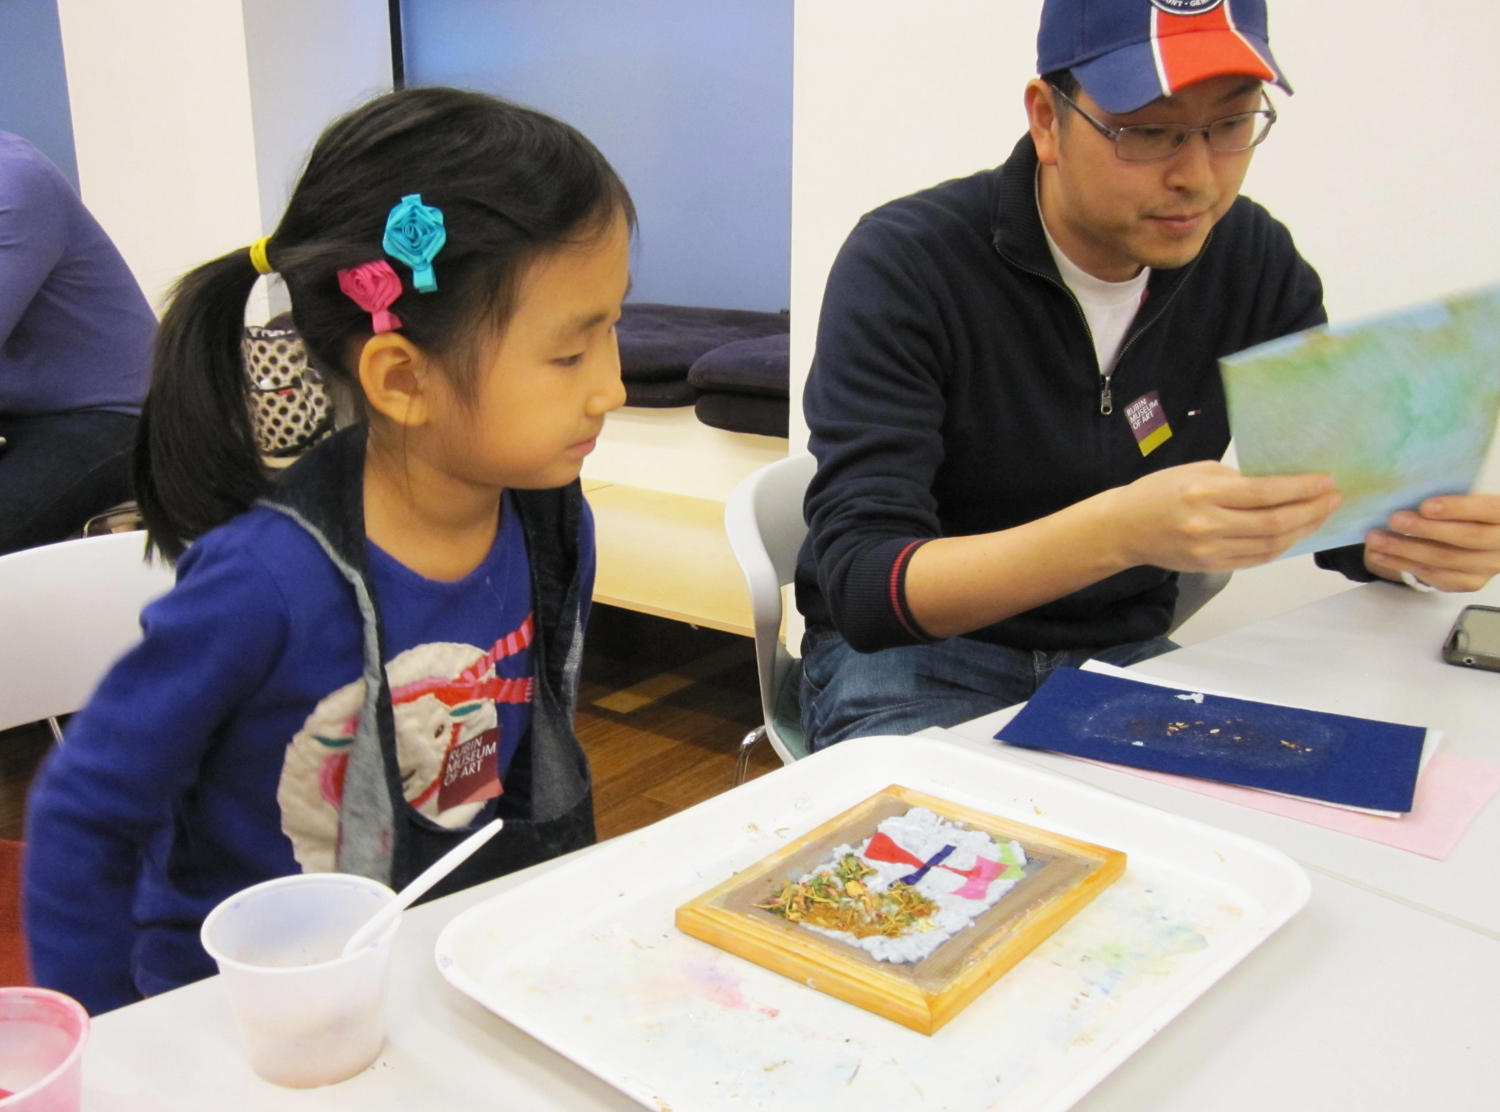
After we explored Clemente’s colorful body of work, we returned to the art studio to create our own sheets of handmade paper. We followed traditional Nepalese methods, with a few minor adjustments. We used recycled paper in place of the lokta plant and used standard kitchen blenders instead of the large machines they use to combine the lokta and water into a pulp. Since we did not have access to the sun, we used pieces of felt to absorb the water from our papers and let them air dry overnight. To decorate our papers, we used spices like curry, parsley, rosemary, and cinnamon, as well as dried flower petals, and colorful tissue paper. The results were beautiful, but perhaps even more beautiful was the collaboration between families to make the paper…

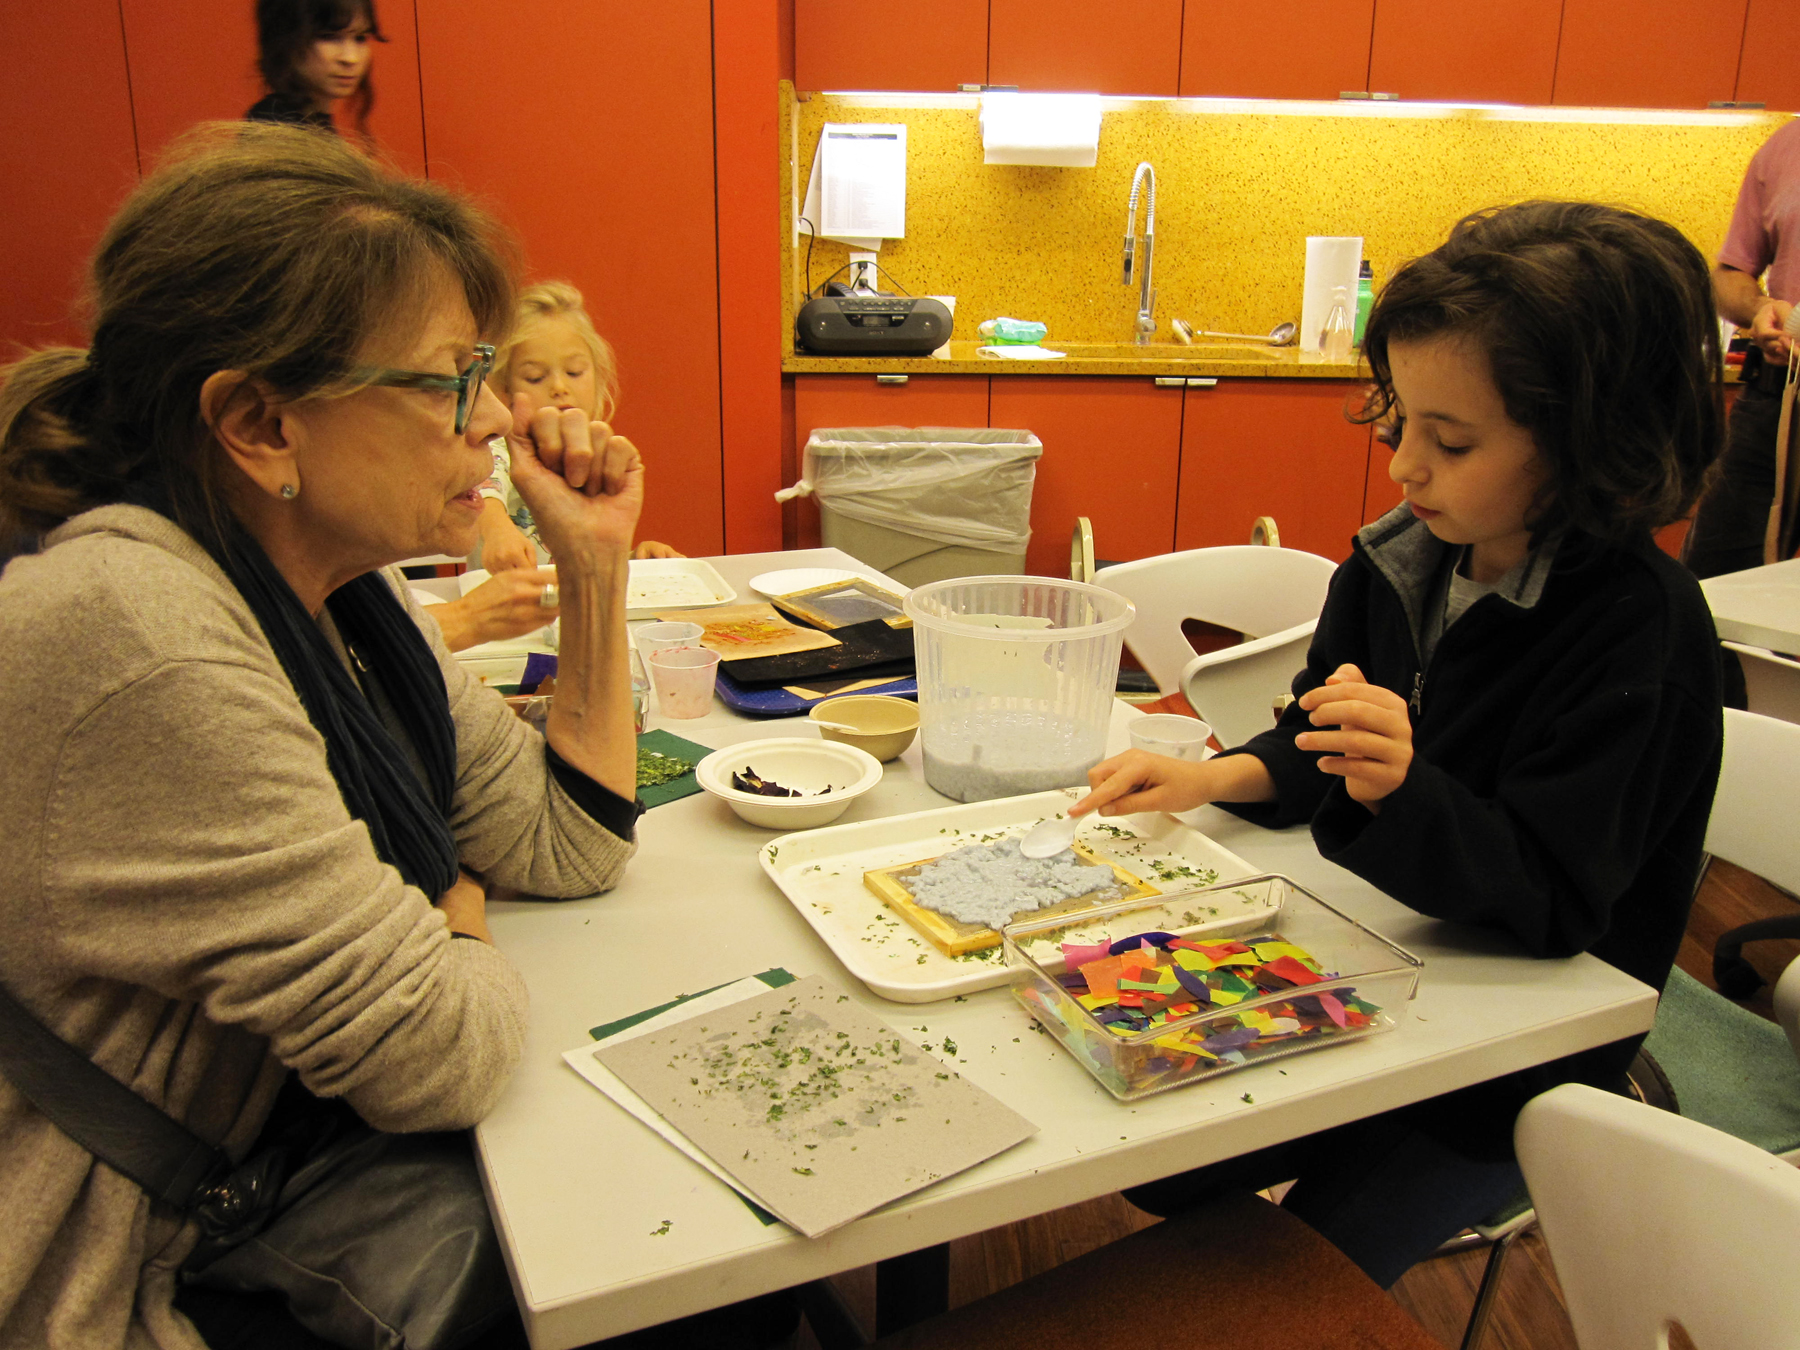
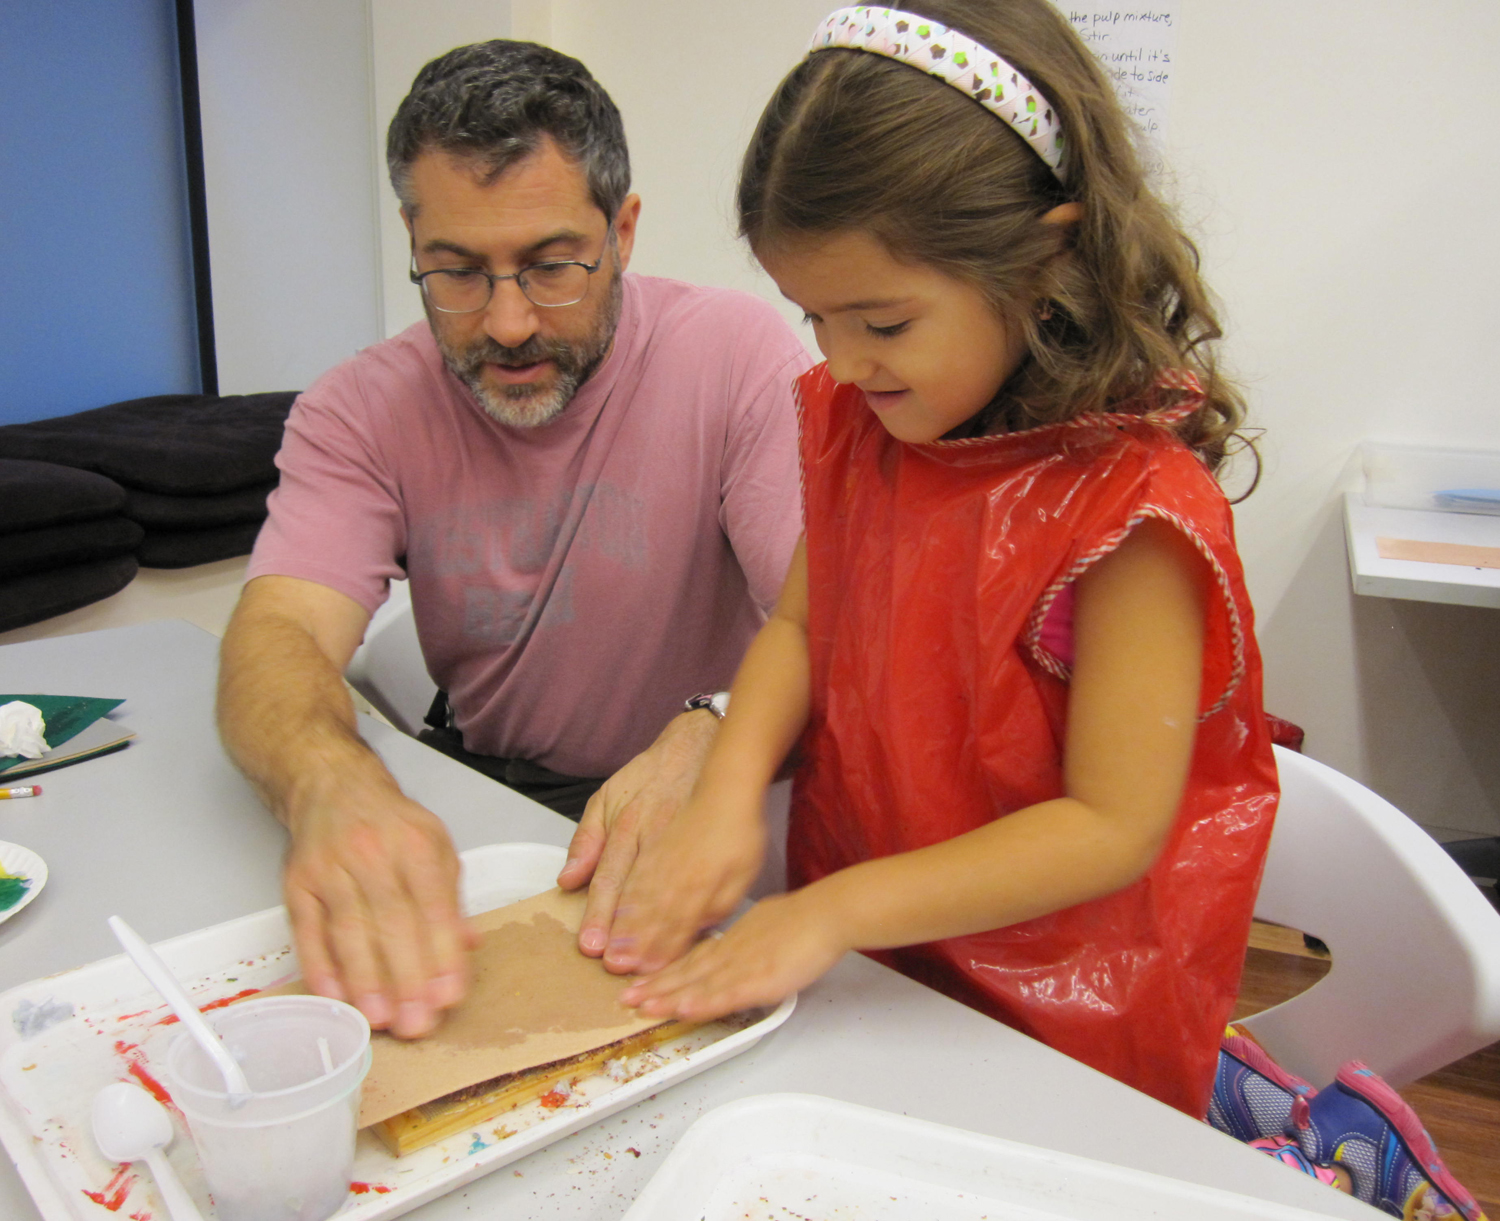
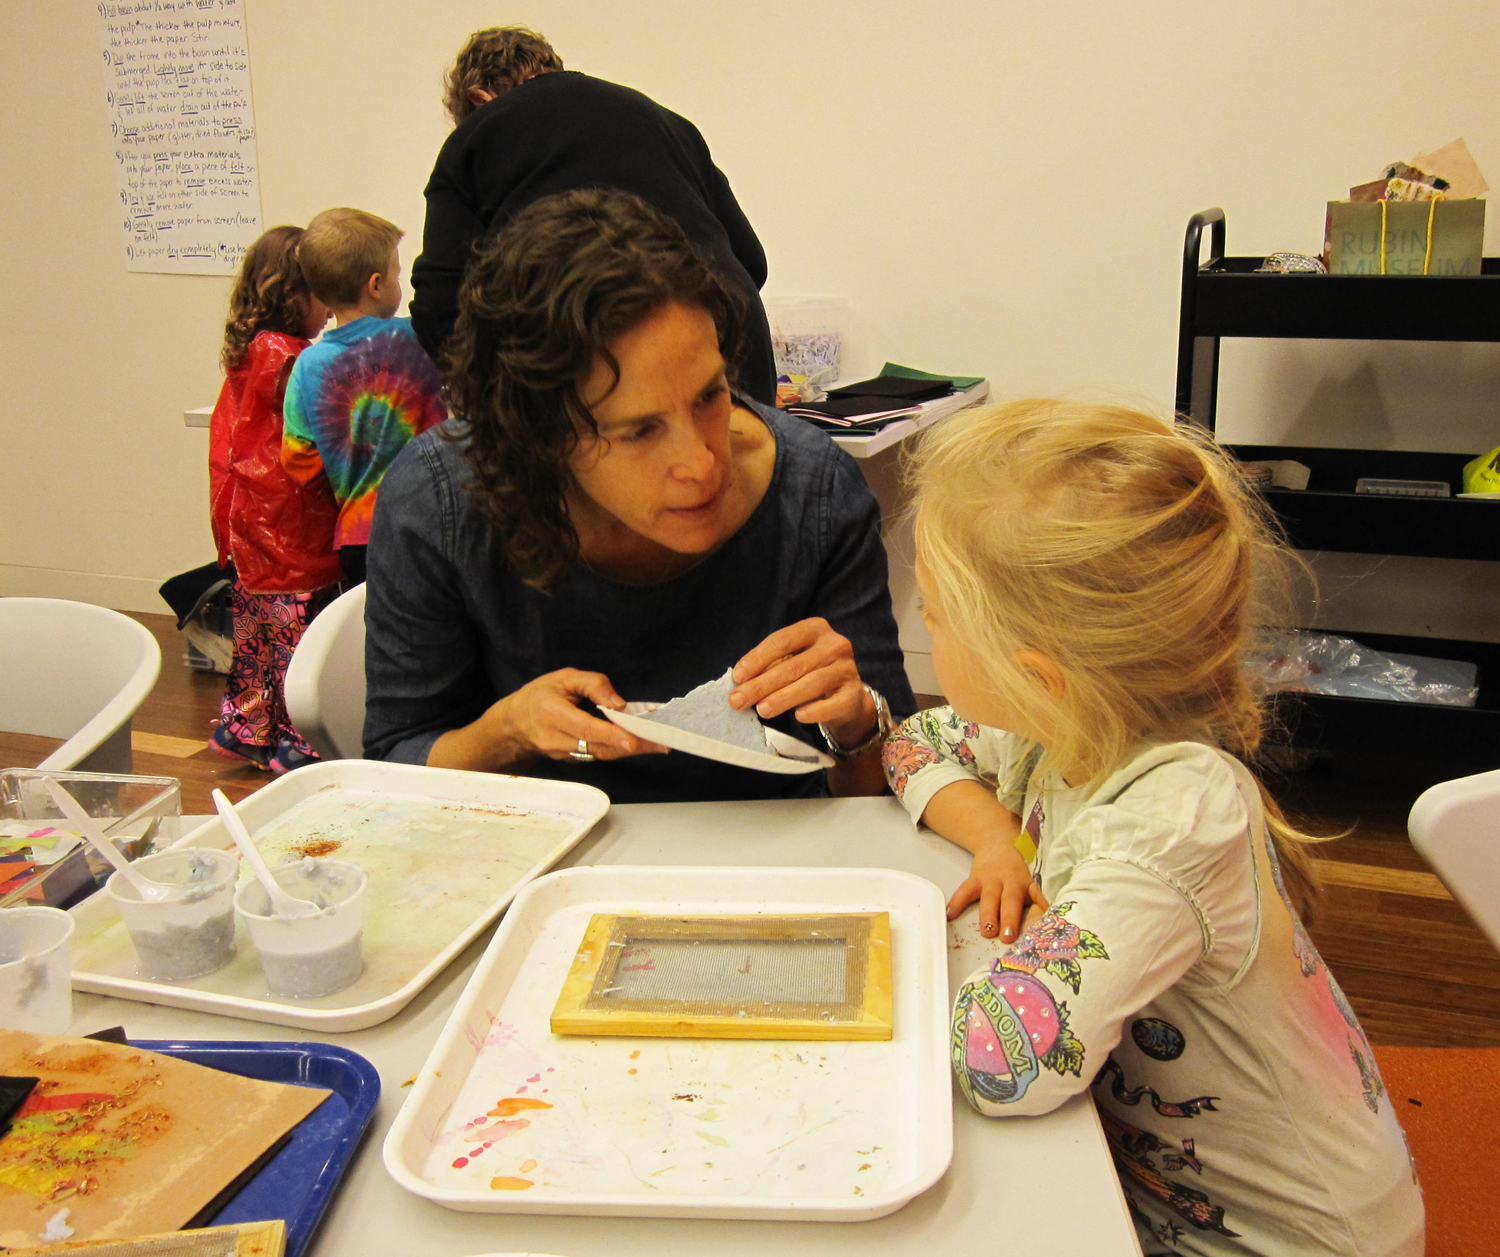
Here’s a great example from the day…
Want to make your own paper at home? Here’s how!
You’ll need:
- a small wooden frame (just the wooden part)
- a screen (cut to fit the frame)
- hot glue (for gluing the screen to the frame)
- a shallow tray (with at least 2 in. walls)
- several pieces of felt
- decorations of your choosing (we like spices, wax-coated tissue paper, and dried flowers!)
- recycled papers (work best if they are torn or shredded)
- a bucket (for soaking papers)
- a blender (regular or immersion will work)
- Assemble your screen by taking your wooden frame and using the hot glue to adhere the screen to the frame. Let the screen dry and handle the hot glue carefully!
- Soak shredded paper (copy paper works best) overnight to soften it.
- Put paper shreds into blender and top with water. Blend, adding more water if needed, until you have a pulp with the consistency of watery oatmeal.
- Pour pulp mixture into a shallow tray. Dip screen into pulp, covering surface and lifting slowly out of the water. Make sure your screen is covered with a thin layer of pulp. *Alternate method – use a spoon to spoon mixture onto frame.
- Press decorations into wet pulp – try making a design!
- Use felt and pat both sides of the pulp until much of the water has been absorbed into felt.
- Carefully remove paper from screen and place somewhere safe to dry overnight.
- Admire your very own sheet of handmade paper!
Stay tuned for November’s Family Art Lab, where we will be learning all about mandalas and crafting our own giant collaborative sand mandala!